
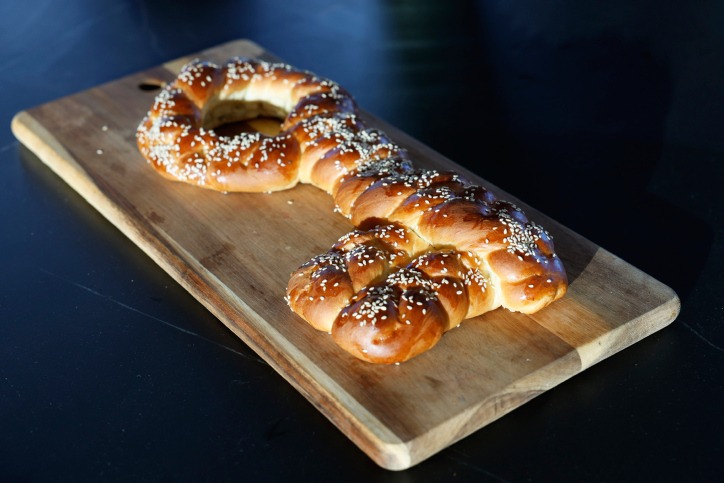
A ritual for earning a living on the Sabbath after Passover is to bake a key-shaped challah. Some people bake the challah in the usual way and hide a real, wrapped key inside.
The explanation for the custom of burying keys: The custom is written in the book of the Rebbe of Apta, Rabbi Avraham Yehoshua. In the parasha 'Shemini Likutim', the Rebbe writes that the custom of burying keys in the Shabbat bread began in ancient times.
Another interpretation: In the Kabbalah books, "Fifty Gates of Understanding," every person who counts the Omer passes through fifty Gates of Understanding, or must pass through them, until they reach the Shavuot, which is the fiftieth gate. Each gate has a key, and the piercing of the halals with the key at the beginning of the days of counting alludes to these Gates of Understanding.
How to prepare? Shimrit Goldberg Zefadia, the in-house chef at Newpan, offers unique tips: from the kneading stage to the baking stage.
The dough:
The exact dosage of yeast is particularly important for the success of challah. Be sure to use the required dosage of yeast. A lack of yeast may cause insufficient rising.
• Using bread flour allows for a better result because of the high gluten level. The resulting flour and dough are particularly flexible and the challah comes out with a larger volume and a softer texture.
• The order in which the ingredients are added determines the success of the recipe. Flour, sugar and yeast are the first step, then the liquids such as oil, water and eggs, and finally, when a dough forms and forms, add the salt.
• Using the mixer, when preparing challah, work with the kneading paddle at low speed #1, throughout the entire kneading time.
• The rising time should be sufficient; too short a rise will cause the challah to be dense and heavy.
• Place the dough in a greased bowl and make sure that the dough is coated with a thin layer that prevents a crust from forming. During the rising process, the dough will absorb the fat and its outer part will remain flexible, so that it can rise freely.
• After the dough has risen, it will slide off the bowl, leaving it clean.
• Ensure the correct temperature in the proving environment. Proving in a warm environment will cause the dough to rise too quickly and become tired, while proving in an environment that is too cold will not allow the dough to rise as expected and will result in a heavy, non-airy challah.
• To obtain especially airy challahs, the dough must be allowed to rise twice. Once after the initial kneading and a second time after we have braided it and placed it in the pan. The additional rising time is about 1/2 hour.
• Yeast dough should be soft, shiny, and flexible after kneading. To check if the kneading is sufficient, after 8 minutes of kneading, slowly and gently pull a piece of the dough. When the dough is kneaded sufficiently, it will not tear immediately, but will stretch like a thin crust for a distance of a few centimeters. If the dough tears immediately, continue kneading for another minute or two.
Kneading:
• Be sure to adhere to the required kneading time. Kneading too long weakens the dough and causes the yeast to fail to retain its hold. Kneading too short does not allow the dough to rise and also causes the yeast gases to fail to retain their hold.
• A kneading time of 8 minutes must be observed from the moment the ingredients are added.
• When kneading the dough, especially at the beginning of the process, it is recommended to stop once or twice to clean off the dough that sticks to the sides with a lick so that the dough comes out uniform.
• After kneading, transfer the dough to a large bowl to allow it to rise and expand.
Baking:
• After shaping the challahs – press the key onto a painted stencil – before brushing with egg and putting them in the oven, let the challahs rest and rise for about half an hour.
• The pan intended for baking challah should be at room temperature, not too cold or too hot.
• The recommended baking time is 45 minutes for a standard oven.
• It is very important to pay attention to the oven temperature. It is recommended to start at high heat - 200 degrees for the first ten minutes and then lower the oven to medium heat - 180 degrees for 30 minutes. Towards the end, it is recommended to increase the oven temperature again to 200 degrees.
• At the end of baking - it is very important to remove the challah from the oven and from the pan immediately after baking, and cool it outside the pan, to maintain its crispness (leaving the challah inside the pan creates unwanted moisture).